Unit Testing Principles
To build robust, reliable simulations, we must move beyond manual observation and implement automated validation. This module covers the implementation of unit testing within the MineTwin framework, ensuring your code remains stable as the project scales.
1. Introduction to Unit Testing
The "Why": When writing complex simulation logic, manual testing is inefficient and prone to human error. We need automated ways to ensure our code behaves correctly—not just today, but months from now when other developers are modifying the codebase.
Unit tests act as evaluations of small, specific pieces of functionality. They serve as an automated "safety net."
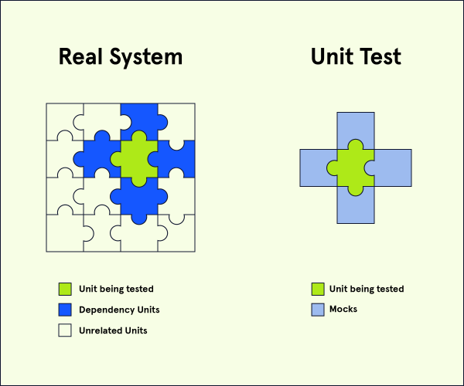
MineTwin comes loaded with a template testing class located at tests > com.~.tests > src > com.~.tests > Test.java.
This can help you get started quickly.
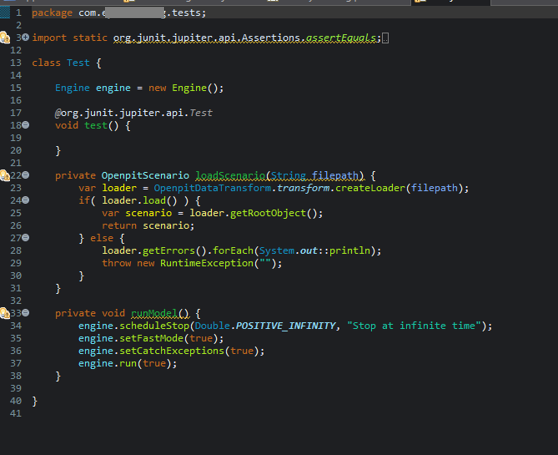
1.1. Basic Test: Counting Mine Nodes
Let’s start by adding a basic test that simply loads a scenario and counts the mine nodes to ensure the environment is initializing correctly.
import java.io.File;

@org.junit.jupiter.api.Test
void testNodeCount() {
    var scenario = loadScenario("scenarios" + File.seperatorChar + "Basic.xlsx");
    System.out.println(scenario.getMineNodes().size());
}|
Why use Different operating systems use different characters to separate directories in a file path (Windows uses |
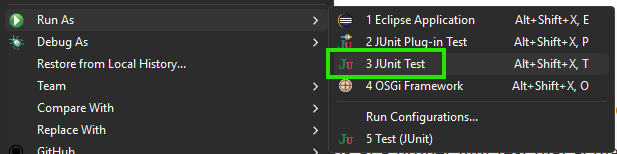
To execute this, right-click on the test class in your side-bar/Project Explorer, navigate to Run As, and select JUnit Test.
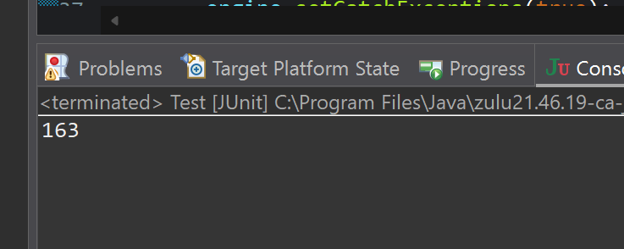
Check your Console view at the bottom of the screen. This basic test simply prints the output, so you should see the value 163 printed to the console.
1.2. Advanced Test: Validating Outcomes
Now, let’s look at a proper unit test that actually checks results rather than just printing them. This test will run the model, retrieve values, and check them against predetermined expected values.
@org.junit.jupiter.api.Test
void testOre() {
    // Arrange
    var scenario = loadScenario(".\\scenarios\\Basic.xlsx");
    EYFTrainingModel model = new EYFTrainingModel(scenario, engine, new Mapping(), false, 0);

    // Act
    runModel();

    // Assert
    assertTrue(engine.getExceptions().isEmpty());
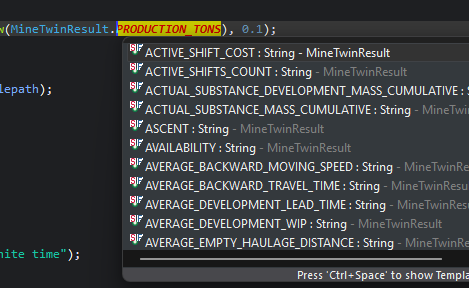
    assertEquals(1_800_000, model.getMineTwinResult().getOrThrow(MineTwinResult.PRODUCTION_TONS), 0.1);
}
Currently, we are checking production tons, but there are many possible parameters you can check.
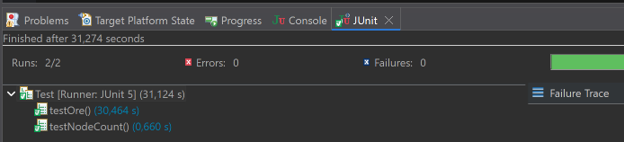
Run both of these tests again with JUnit and monitor the results. After about 30 seconds (depending on your machine), you should see both tests pass with a green bar in the JUnit view!
2. Unit Testing Fundamentals
Proper unit testing relies on checking simulation results against predetermined expected values using assertions. In the MineTwin environment, we utilize the standard JUnit 5 framework.
2.1. Core Assertions
-
assertEquals(expected, actual, delta): Checks if two values match perfectly. Thedeltaparameter defines the acceptable variance (useful for small rounding differences). -
assertTrue(condition): Checks if a given boolean condition evaluates to true.
|
The Floating-Point Challenge: Assertions and Debugging
Because MineTwin simulates continuous variables and uses floating-point numbers, math operations often introduce tiny rounding discrepancies (e.g., 1.800000000001 vs 1.8). To handle this, |
|
Crucial Debugging Tip:
When choosing an assertion, consider how it reports failures:
Use |
3. Practical Exercises
Each of the following exercises follows the exact same structure (load the scenario, run the engine, assert the final state) but targets a different component of the MineTwin model.
|
For these exercises, you should run the model first to find the expected values in the UI, and then put those values into your assertions. Note: While you wouldn’t always do this in real-world test-driven development, it is the easiest way to learn the syntax right now. |
| Exercise | Task Description | Notes |
|---|---|---|
Option 1: Dump Area Amount Test |
Check that all dump areas have the correct amount of material at the end of the simulation run. |
- Use the standard scenario: loadScenario(".\\scenarios\\Basic.xlsx") - Test for the amounts at the end of the simulation in each dump area. - Hint: You will need to import the DumpArea classes. |
Option 2: Truck Stats Test |
Verify specific statistics for "Truck 1". |
- Use the standard scenario: - Test for the Scheduled time, Utilization, and Total Hauled Amount - Hint: You need to import the haulage truck type and use the |
Option 3: Mine Area Test |
Verify that restricting trucks to a specific mine area successfully prevents material from reaching incorrect dump areas. |
- Open the app, load the standard scenario, and manually set all trucks to use the "Purple" Mine area. (You can remove all but 4 trucks for convenience). - Save this modified scenario as a new scenario file under - Use this new scenario for your unit test. - Test for the amounts at the end of the simulation in each dump area (checking that the restricted areas received nothing). |
Click here to view the Solution Code
import com.amalgamasimulation.minetwin.openpit.simulation.DumpArea;

@org.junit.jupiter.api.Test
void testDumpAreaAmount() {
    var scenario = loadScenario(".\\scenarios\\Basic.xlsx");

    EYFTrainingModel model = new EYFTrainingModel(scenario, engine, new Mapping(), false, 0);
    runModel();

    assertTrue(engine.getExceptions().isEmpty());
    assertTrue(Compare.equalTo(model.getDumpAreas().get(0).getBunker().getContentsAmount(), 2400000));
    assertTrue(Compare.equalTo(model.getDumpAreas().get(1).getBunker().getContentsAmount(), 1600140));
    assertTrue(Compare.equalTo(model.getDumpAreas().get(2).getBunker().getContentsAmount(), 1800000));
}import com.amalgamasimulation.minetwin.openpit.simulation.haulage.Truck;
@org.junit.jupiter.api.Test
void testTruckStats() {
var scenario = loadScenario(".\\scenarios\\Basic.xlsx");
EYFTrainingModel model = new EYFTrainingModel(scenario, engine, new Mapping(), false, 0);
runModel();
Truck truck = model.getTrucks().get(0);
assertTrue(engine.getExceptions().isEmpty());
assertEquals(620, truck.scheduledTime(), 1);
assertEquals(0.91, truck.utilization(), 0.5);
assertEquals(175740, truck.getBunker().getTotalOutflowAmount(), 10);
}import com.amalgamasimulation.minetwin.openpit.simulation.DumpArea;
@org.junit.jupiter.api.Test
void testMineAreas() {
var scenario = loadScenario(".\\scenarios\\MineAreaTest.xlsx");
EYFTrainingModel model = new EYFTrainingModel(scenario, engine, new Mapping(), false, 0);
runModel();
assertTrue(engine.getExceptions().isEmpty());
assertEquals(781800, model.getDumpAreas().get(0).getBunker().getContentsAmount(), 100);
assertEquals(0, model.getDumpAreas().get(1).getBunker().getContentsAmount(), 0.1);
assertEquals(0, model.getDumpAreas().get(2).getBunker().getContentsAmount(), 0.1);
}