Building the Custom Data Command Class
In this section, we move from UI declarations to creating the core Java logic. We will build the command class that manages and injects this data directly into the MineTwin simulation.
|
Starting Point
This section builds on the content from UI Integration and Toolbar Implementation. |
1. Creating the Custom Data Command Class
In the previous sections, we created the base of the required Command and Handler packages. Now, we need to make them actually import data. We begin by creating a Command Java class, which gives us access to the simulation scenario.
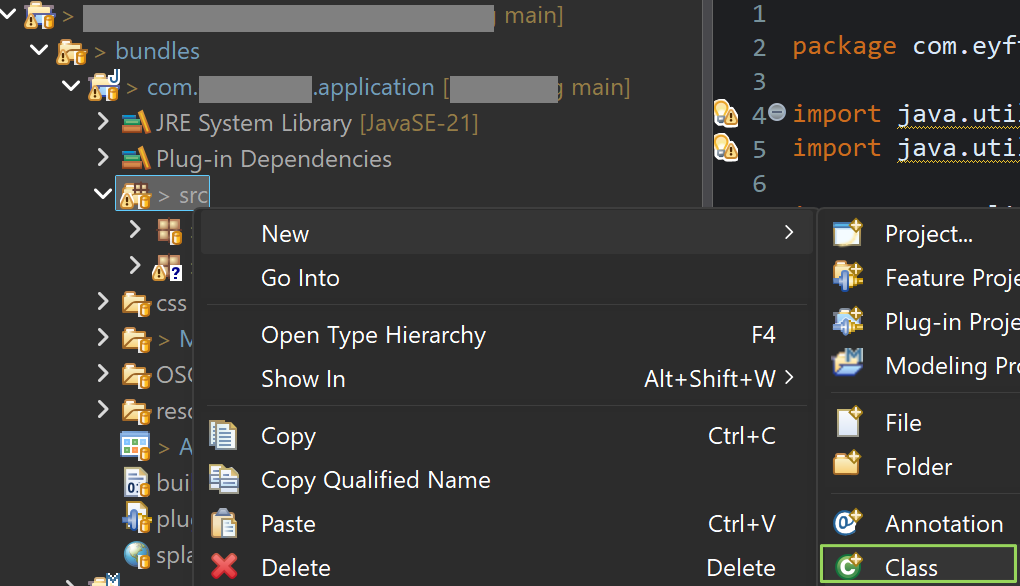
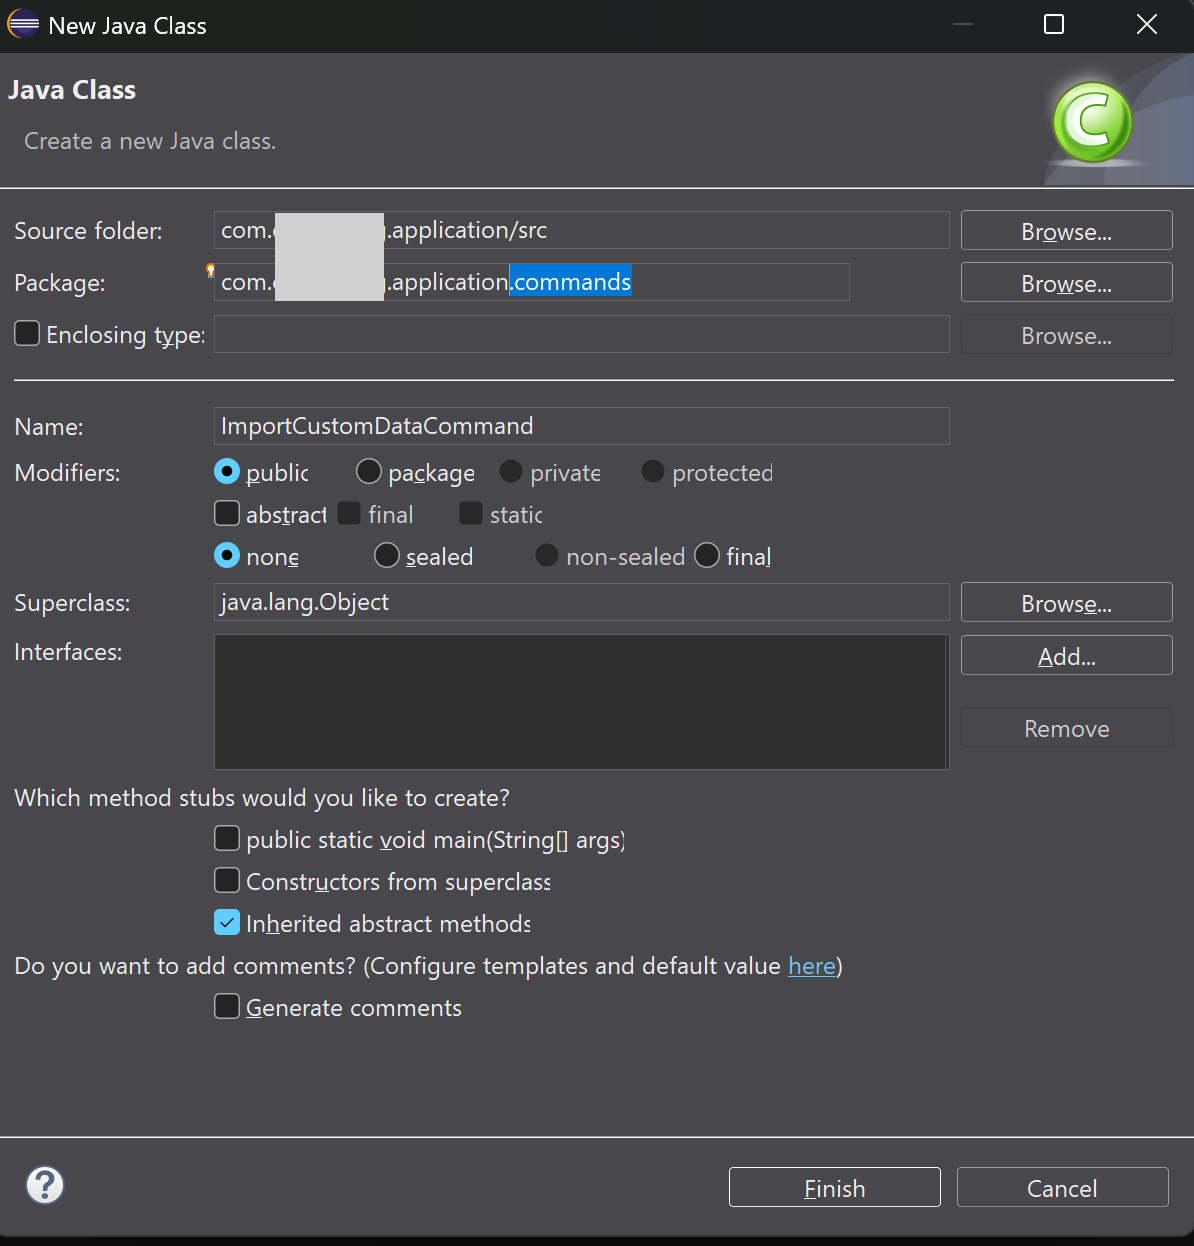
Create a new Java class under application > src with the extension .commands.
2. Building the Command Class
Instead of pasting a large block of code all at once, let’s build this class piece by piece so you understand exactly what each component does. Open your newly created ImportCustomDataCommand.java file and follow these steps:
2.1. Specifying the Data Record
Inside your new class, we need to specify a simple Java record which will allow us to capture the block data. Each value before the comma represents a column in our Excel data, starting with the data type followed by the column name.
public record BlockData(String id, String arcId, String mineAreaId, Double volume) {}2.2. Adding the Constructor
Now we need a constructor to initialize the command with the simulation scenario and the redraw manager.
public ImportCustomDataCommand(Scenario scenario, RedrawRestrictionManager redrawRestrictionManager) {
    super(scenario, redrawRestrictionManager);
}
2.3. Adding the Required Imports
At the top of your file (under your package declaration), add all the required imports for the objects we will be using.
import java.util.List;
import com.amalgamasimulation.desktop.binding.RedrawRestrictionManager;
import com.amalgamasimulation.minetwin.datamodel.MineArc;
import com.amalgamasimulation.minetwin.datamodel.MineArea;
import com.amalgamasimulation.minetwin.datamodel.MineSegment;
import com.amalgamasimulation.minetwin.datamodel.MiningType;
import com.amalgamasimulation.minetwin.datamodel.OreType;
import com.amalgamasimulation.minetwin.datamodel.Scenario;
import com.amalgamasimulation.minetwin.openpit.datamodel.openpit.Block;
2.4. Extending the Command Class
Make your class extend OpenPitCompoundCommand. This gives it access to the functionality which already exists inside that base class for managing simulation states.
Update your class declaration line to look like this:
public class ImportCustomDataCommand extends OpenPitCompoundCommand {|
Remember to add the required import for this specific extension at the top of your file. |
import com.amalgamasimulation.minetwin.openpit.application.commands.OpenPitCompoundCommand;2.5. Adding the Debug Method
Next, we add a method which prints out some basic information for us on the data we are importing. This acts as a safety check to ensure our code can read the records before we inject anything into the live model.
public void importCustomData(List<BlockData> data) {
    System.out.println("Identifier : " + getScenario().getIdentifier());
    System.out.println("data records count : " + data.size());

    for( var r : data ) {
        System.out.println("id : " + r.id() + " arcId : " + r.arcId() + " volume : " + r.volume());
    }
}