Define dump areas and cross-dock points
In this section, we will proceed with the scenario developed in the previous step. Ensure that this scenario is currently active in MineTwin before moving forward. This scenario includes essential master data and a layout imported from an external file. It also encompasses various types of equipment and features a single block containing ore with a 5% grade.
We will now focus on expanding this scenario by creating a dump area.
1. Define dump areas
In open-pit mining, a dump area is typically the primary destination for haulage. The role of the dump area in a simulation study varies depending on the study’s objectives.
In our tutorial, we will assume that dump areas are the final destination for ore flow.
Let us navigate to ROAD-133-e node, click on the dump area palette item, then click next to the node to create our dump area. Hit the Esc button to finish creating dump areas after our only dump area is added to the map. After creating the dump area, let us go to its properties and specify that the ROAD-133-e node will be the dump in Flow connector.

The dump position of a dump area is the location where trucks and loaders can unload ore into the dump area.
Now that we have created a dump area, let us set its capacity on its Properties page. Since dump areas are most often the final destination for the ore flow, the default MineTwin value for capacity is 100,000,000 tons to ensure it does not become a constraint.
Let us navigate to the Ore Types section on the properties page of our dump area. By default, MineTwin permits the transportation of all existing ore types into any newly created dump area:

Let us leave this setting as it is, but remember that in the future, we will be able to separate dump areas by the allowed ore types.
Now, we can go to our block and check that MineTwin is now able to determine the newly created dump area as a destination:
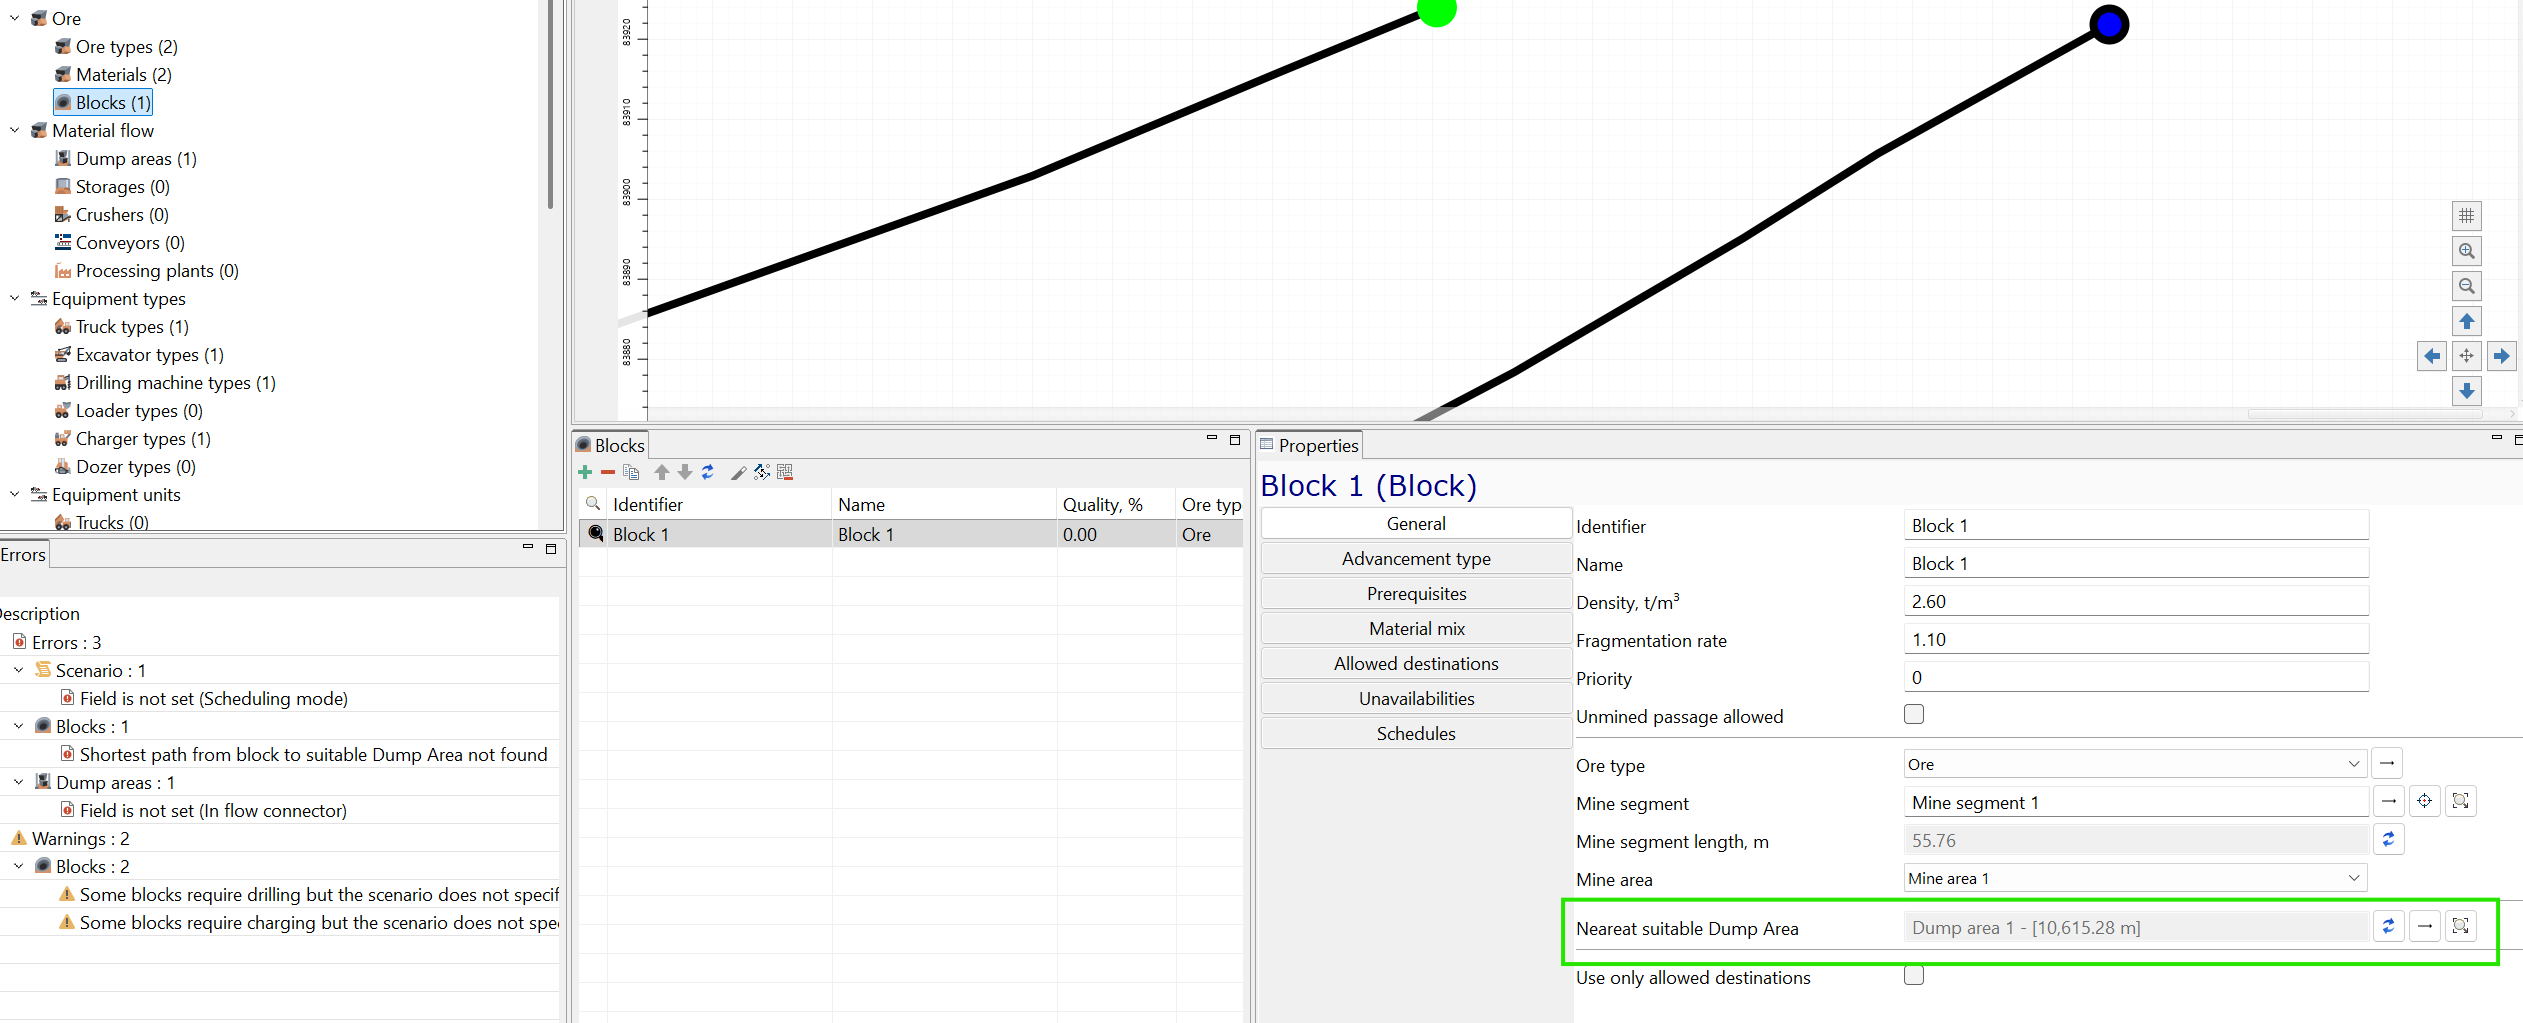
If you click on the magnifying glass on the right of the Nearest suitable Dump Area block, you can visually see the path from the block to the dump area.

Now that we have defined one dump area in our scenario, we can save and continue with the next step. The resulting scenario can be downloaded here.