Create a scenario
In this section, we will create a MineTwin scenario using a New scenario wizard.
1. Launch a new scenario wizard
Creating a new MineTwin scenario always starts by running a wizard. To start this wizard, click the Create a new scenario link on MineTwin’s Welcome page window:

This wizard will ask for all the master data that will be used in the scenario.
Note that all the data can be changed later if necessary.
2. Define scenario name and simulation period
Define the simulated period and scenario name on the first page of the scenario wizard:
-
Let us call our scenario "Training Scenario"; we can use this text for both the name and identifier of a scenario
-
MineTwin uses the current year as a default simulation period. Let us keep it unchanged
-
We will define the scheduling mode, fixed costs and fuel price later as we work with our scenario, so we keep them unchanged as well
-
X and Y coordinates are advanced features to deal with the coordinate settings of the DXF file if needed.

Click Next to get to the next step of the wizard.
3. Define mine areas
Mine areas define different regions of the mine being modeled, like ore body parts or areas with different rules of scheduling. In MineTwin, mine areas can be used to restrict allocating resources such as LHDs (Load, Haul, Dump Machines) and trucks to service only specific parts of the mine. There are some other uses of mine areas which we will explore later.
Let us keep our setup simple and create a single mine area by clicking the + button above the table:

Let us keep the default name "Mine area 1" suggested by MineTwin and click Next to get to the next step of the wizard.
4. Define zones of the mine transportation network
In MineTwin, roads can be assigned to zones. Zones are used for reporting underground loaders and truck traffic metrics like average speed or distance traveled. For example, zones can separate the mine’s main paved transportation arteries from stope access roads.
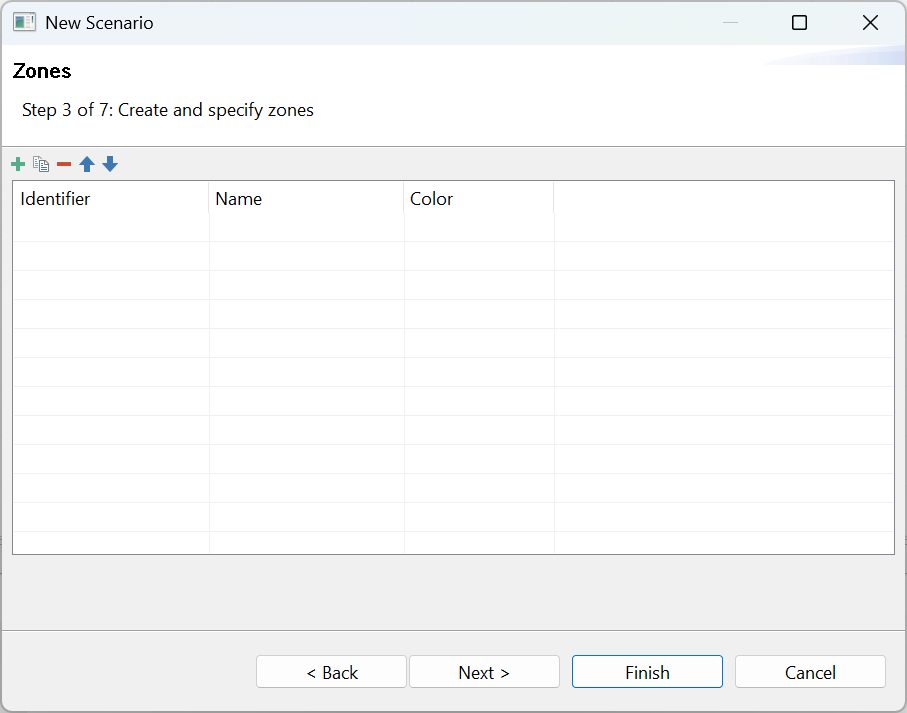
We can skip defining the zones for now and leave the list empty. So, we click Next to proceed.
5. Define ore types
Mining implies moving ore from extraction points downstream to further processing. From a logistics standpoint, ore can be of several types depending on how it is transported and where it can be transported to. The typical setup of an underground model includes the following ore types:
-
productive ore
-
waste
Let us specify these 2 ore types as shown in the screenshot below:

Basically, we are saying that we will be extracting and handling ore with our substance of interest (e.g. copper) in the process of production mining. We will also be extracting and handling waste as part of development mining. Having done this setup, we can click Next to proceed.
6. Define materials
In MineTwin, we can simulate the blending of ore of different grades. Ore grade is represented as a mixture of materials; for example, 10 tons of 5% grade copper ore consists of:
-
0.5 tons of copper
-
9.5 tons of empty rock
If there are several substances of interest, like gold + nickel + platinum, this mixture will consist of more components. These components of ore are called materials in MineTwin. In our simple scenario, we will only be modeling a single substance of interest - copper. Thus, we need to define two materials - copper and empty rock as shown below:
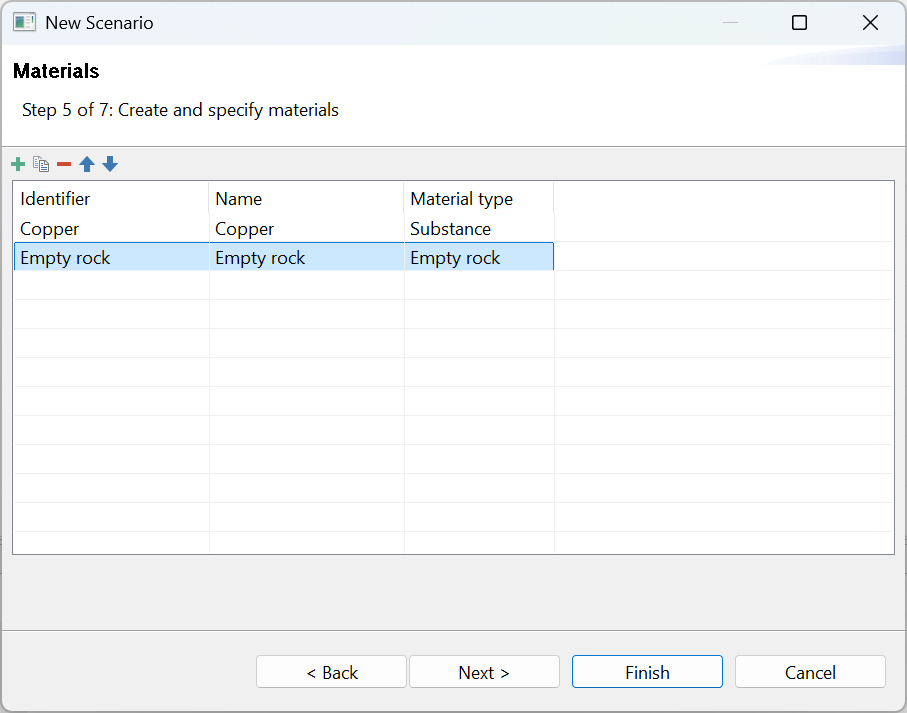
Note that we need to hint to MineTwin what materials are considered useful substances and what are just empty rocks by filling in the material type column of the table above. Now, we can click Next to proceed to the next step.
7. Define blasts schedule
At this step, we can define when and how often the blasts are done. In the dialog below, we do the following:
-
add a single blast period
-
retain its default name
-
Click in the Period column to set the daily blasts at 8:00
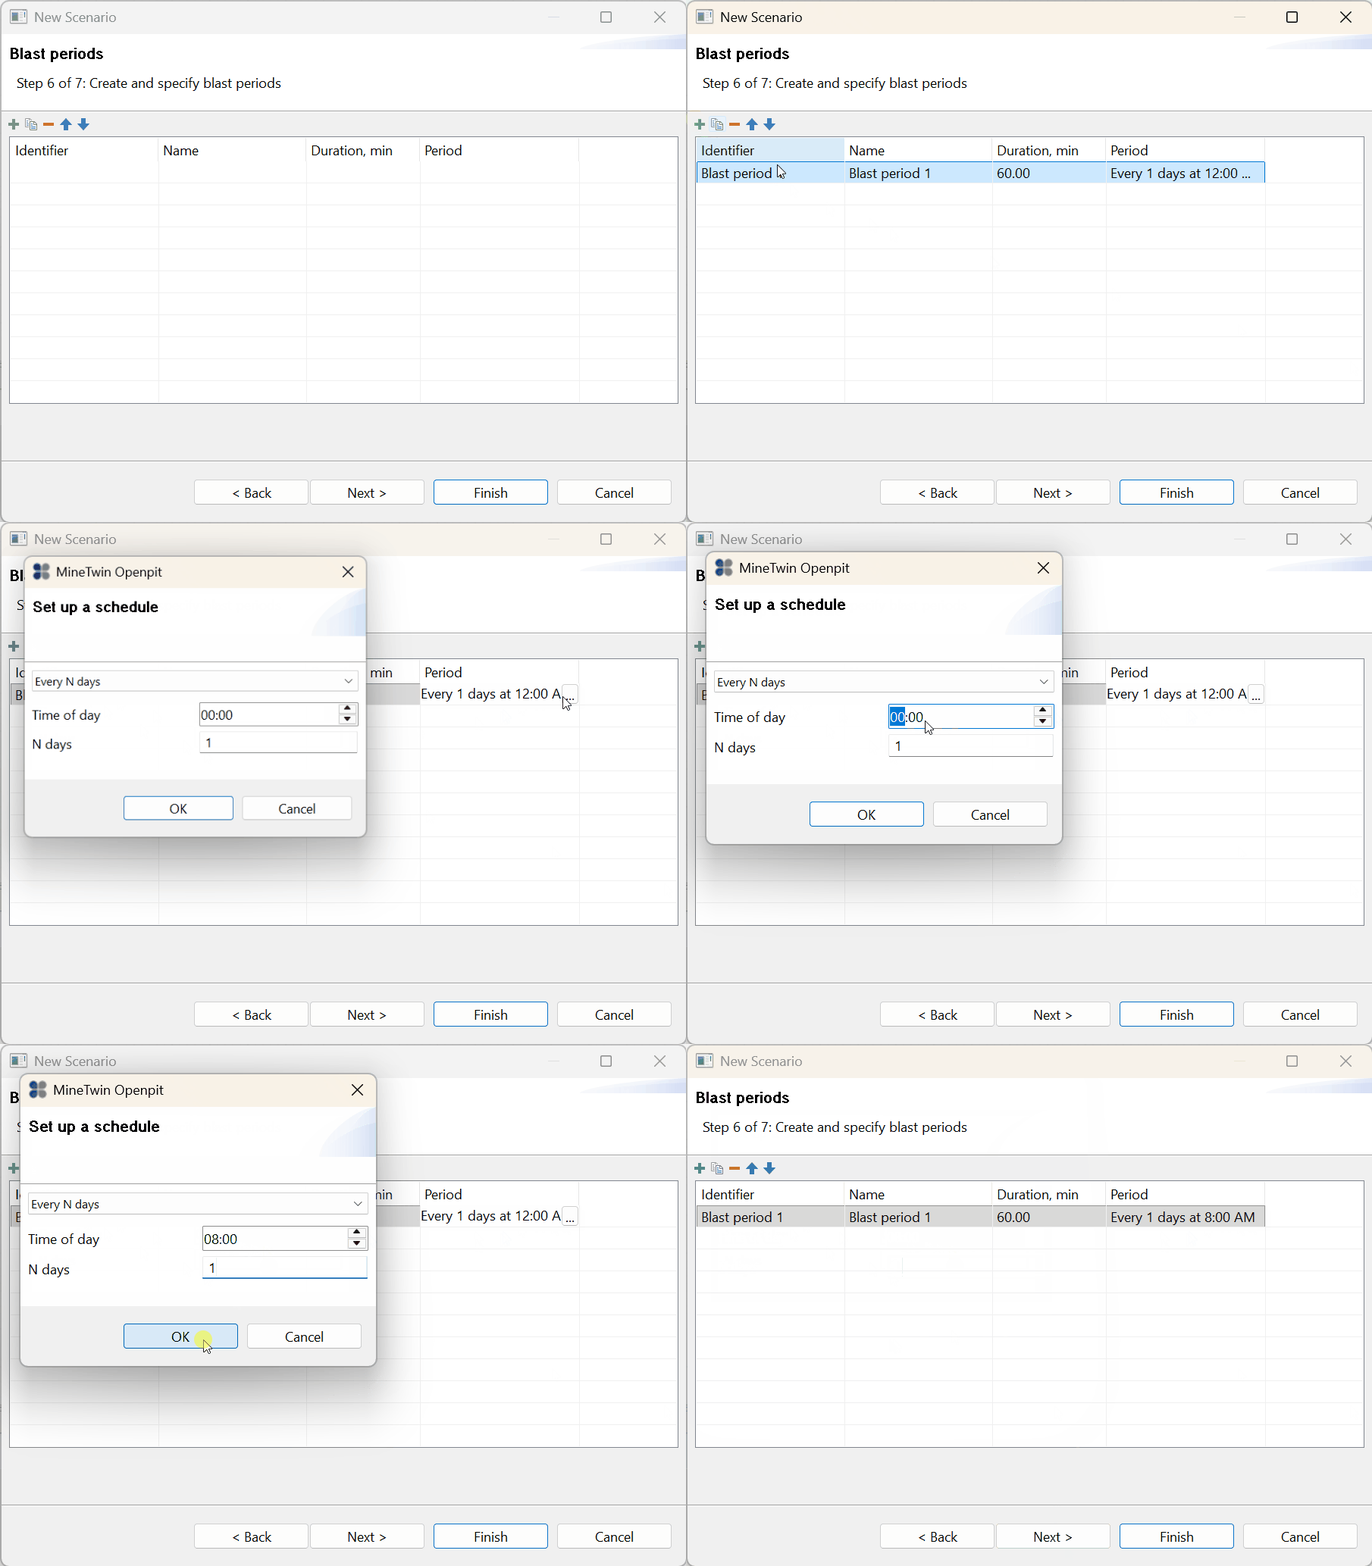
Now, we can click Next to proceed to the next step.
8. Define the shift pattern
In MineTwin, we can define complex shift patterns, and even different patterns for different mine areas. You can create individual working shifts by using the big + and - buttons on the left side of the buttons, or you can use the shift pattern wizard on the far right-hand side.
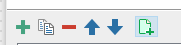
Now, let us define a single shift pattern using the wizard and specifying the following parameters:
-
shifts count = 2
-
shift change duration = 60 minutes
-
first shift begin time is 9:00 am

Note how MineTwin converted this input into its internal schedule representation. This is the final screen of the new scenario wizard, so now we can click Finish and wait until MineTwin creates a scenario.
9. Review and save the scenario
See how a new scenario is created and shown in the tree:

Now you can go to the Menu and save the created scenario to your favorite location on your computer. Name the file "Training Scenario" and save it.

It is important to note that MineTwin scenarios are essentially standard Excel files comprising multiple sheets that reference each other using unique identifiers. The scenario resulting from this initial creation step can be downloaded here: Training scenario - results of step 1.